
Stage 3 of Final Project/ Storyboarding

 This is the third step to the completion of my portfolio.

This will mostly focus on the preproduction of our opening scene. This will include the location, storyboarding, casting actors, writing a shooting schedule, and planning the look and feel of the opening scene.

Let's start off with the location!

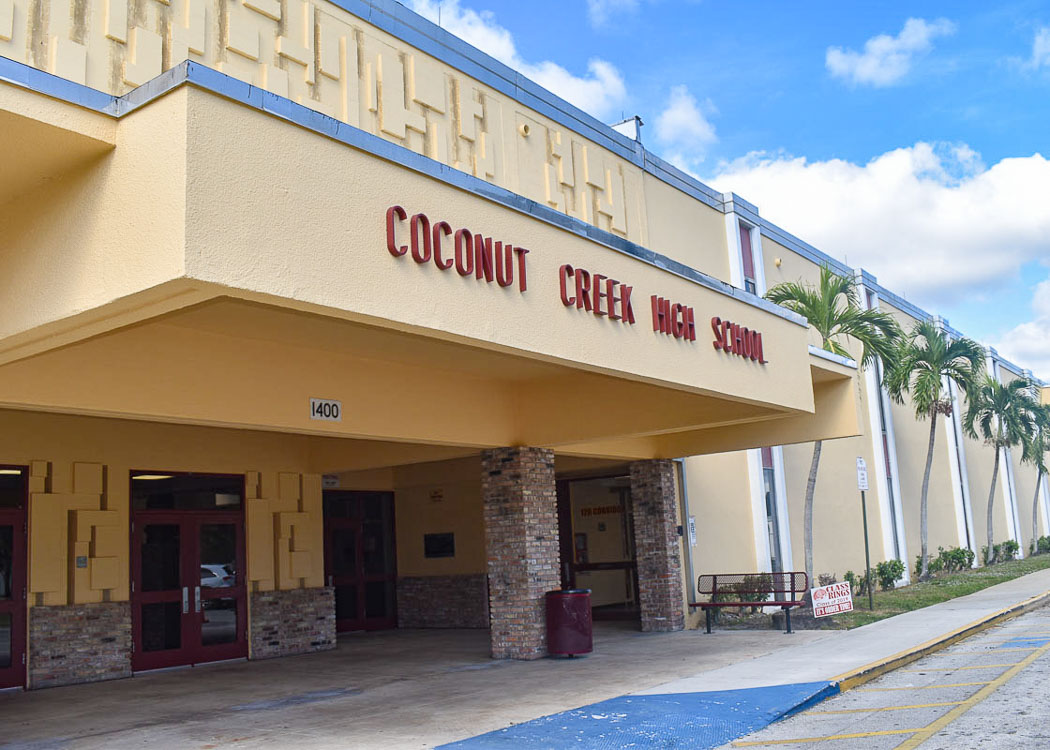
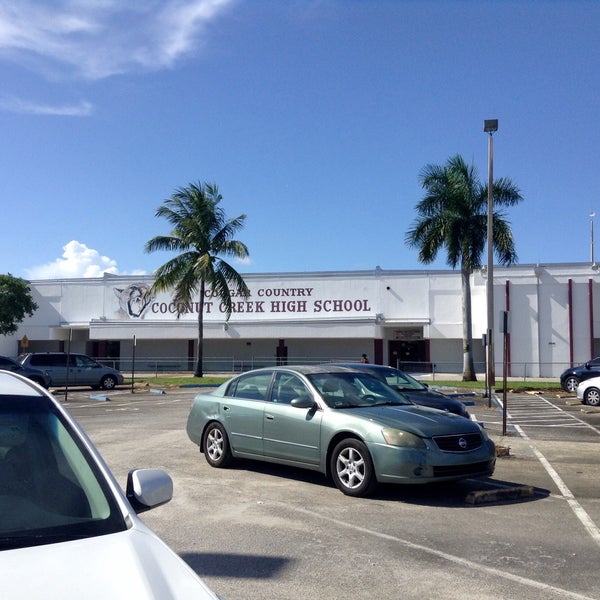
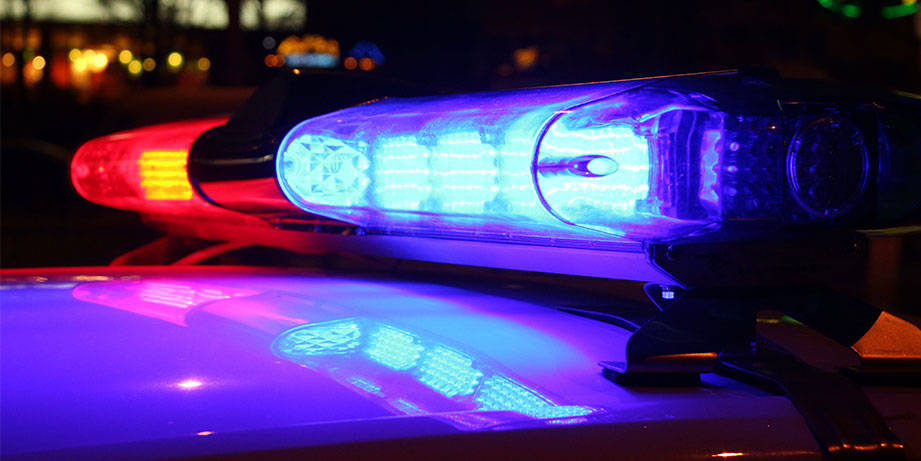
Our group has decided the locations where our opening scene will be shot. Some of the shots will be shot outside while some will be inside. We plan on using the locations in our school to shoot. Although, some shots may need to be filmed outside of school. We plan on shooting our first scene outside, using the school parking lot next to a police car. All other shots and scenes will be filmed inside. Whether that is inside the school or not. We have also decided to use buildings and streets to be our establishing shot.


Actors?!

Well, we do plan on having one of our group members be the "dead girl". We also plan on asking our other friends and classmates to imitate a cop. We will defiantly have to consider how we are going to use the school parking lot to become a realistic crime scene. 

The look of our scenes. How will we achieve it?

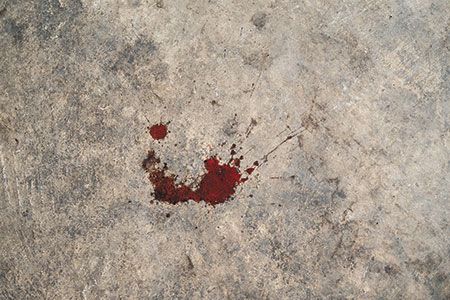
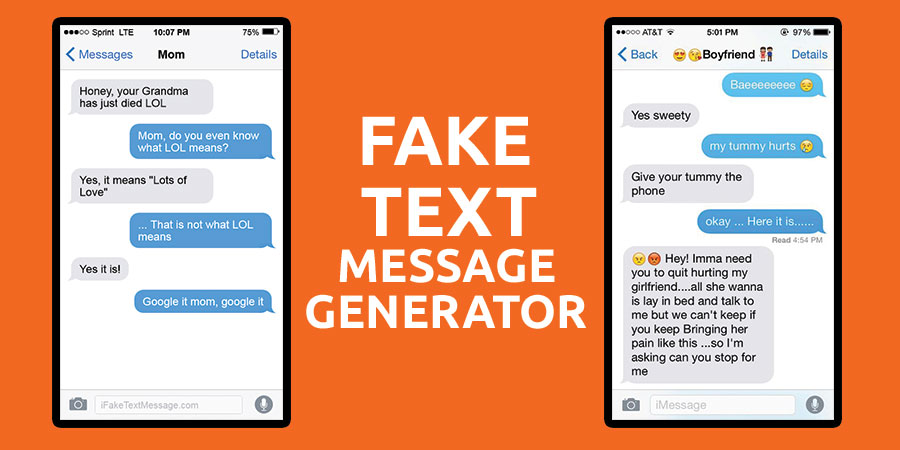
As a group we have decided to make some "fake" blood and put it on the "dead girl's" body. We can also imitate this as wound stains. This will make the scene look more realistic. We are also using an app that we can use to create the "fake" messages between the characters. This app also allows us to send real images. Making our conversations look real.

Sound!?

Our film is a mystery. In the opening scene, I defiantly want there to be suspense. We will achieve this by adding high pitch noises and eerie sounds. And because part of it will be a crime scene, we plan to add police siren sounds to show that there are polices at the scene. Lastly, we plan on using a camera shutter sound to imitate the police/detectives taking pictures of the "dead body".

Here are some examples:


As of right now, we do not plan on recording any of our sounds. Although, if our group can not find a sound to work with, we will have to improvise and make our own. For the walking and breathing sounds, we might have to record those. We will record them on camera. 

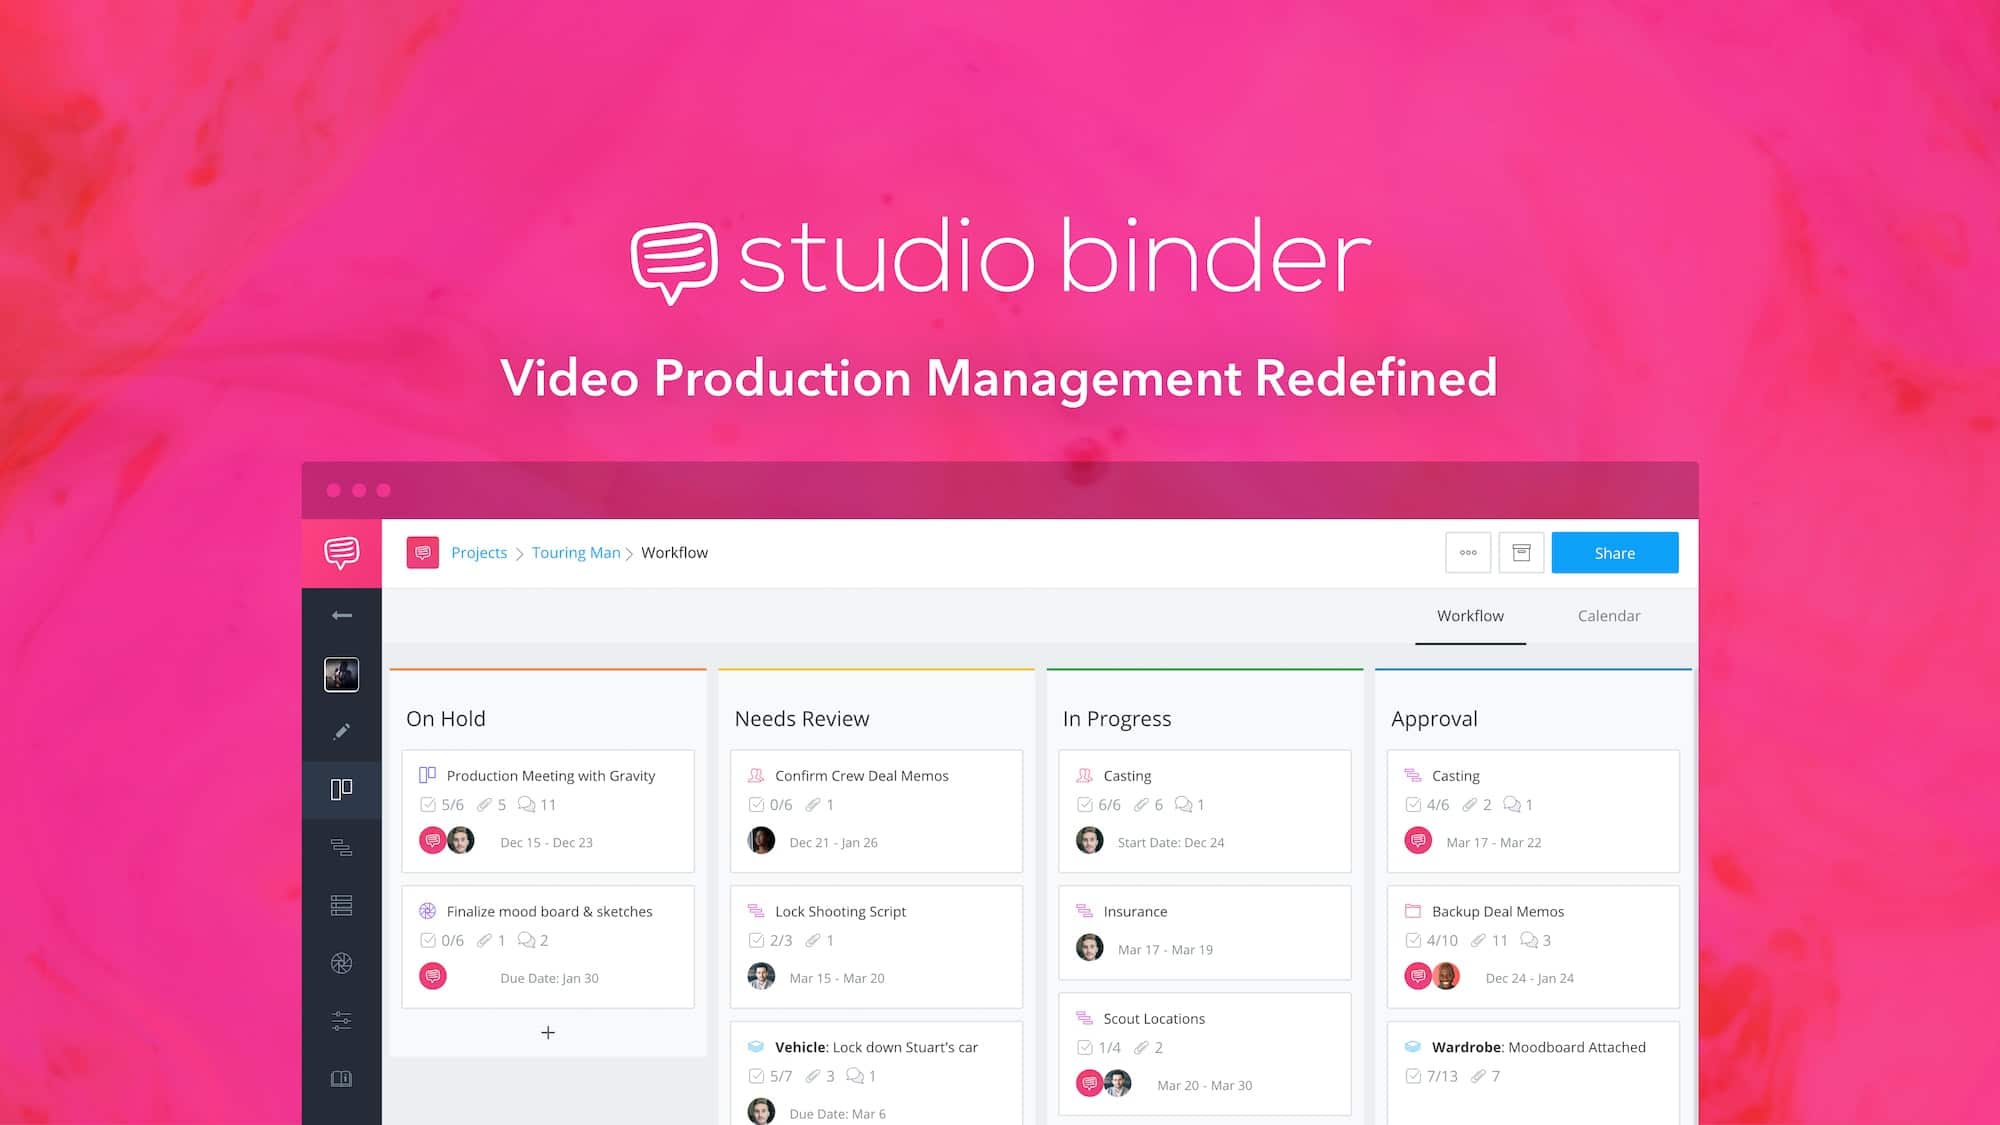
For our storyboards, we are using a website called Studio binder. I have used this for my Christmas Music Video. 


As of right now, as a group, we have 2 weeks to film. We might need the whole two weeks because some of our filming takes place outside of school. We plan on getting as much done as we can at school with those indeed shots. And try and work around our schedules at home to fit in those other shots.

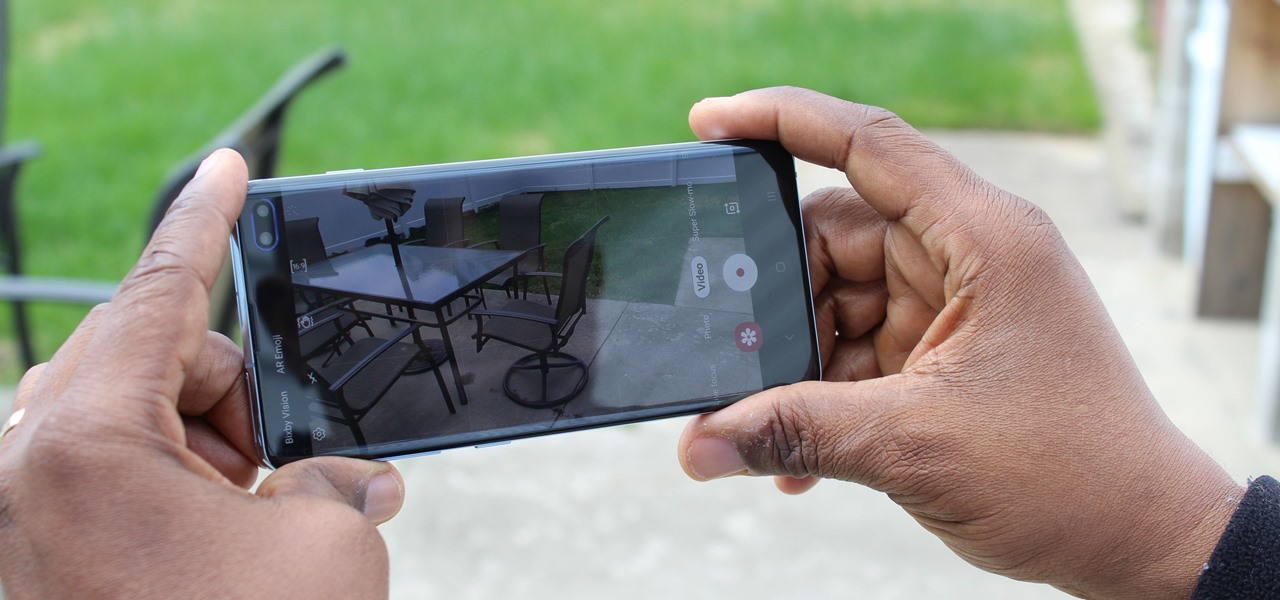
To begin shooting, we will need our phones. This is the key component of our film. We will use it as a prop and as a recorder. We will also need our computers to try out different background sounds to see which one fits with each scene before we get into the editing process. 


I will add my storyboard once completed!


I tried to use similar images to what we envisioned and want to replicate. I tried to keep in mind the time span that we have to work with. As a group, we split up the shots. There were a total of 13 shots, with three of us. I took shots five-nine. While my group members took one-four and ten-thirteen. We worked on this together and it got done a lot more efficient. 


Sources: Group members, shot-by-shot description, and storyboard.

Comments

Popular posts from this blog

Production Process

 Welcome! Today I will be telling you about my production process. I was excited to finally start filming the week leading up. My group and I split up the number of supplies we wanted to incorporate in the film. I was in charge of getting the crime scene tape, which I found surprisingly at Home Depot. My other group members brought white chalk and fake blood. We finalized the supplies on a Friday, that way we were able to have time to get the supplies on the weekend.  Week 1:  February 21-25 We decided to start filming the day we came back. But because all of our shots are exterior shots, we had to wait until the next day to get permission to begin filming. On the second day, we did film but we weren't sold on our shots. It didn't look right, it looked rushed. We planned on doing the fake blood scenes first, and that was our first downfall. Starting off, we should have done the non-bloody shots first. We realized this in our second week of filming. But you have to make mi...

Stage 1 of my final project

This is the first step towards the completion of my portfolio.  To start off, the kind of movie that I'm interested in creating would be an mystery movie. The basic genre convention of my movie would be dark, suspenseful and murder. It's a genre of film that revolves around the solution of the problem or a crime. Other opening sequences of my genre include background knowledge, showing the setting, the characters and what happened all the way up until current. An opening sequence reveals meaning and tone without giving too much away by giving little pieces of what's to come throughout the story, which makes the viewer interested in the storyline. Depending on the genre, not too much action goes on in the opening scene. There might be some action, showing what happened before, leading up until the start of the movie. The settings or locations of other films in my genre are, but are not limited to, forests, homes, buildings, theme parks, etc.. Almost any place that you can go...

Mise-en-Scene

 MISE-EN-SCENE  Although I was absent, when the majority of lesson was taught on Mise-en-Scene. I knew the meaning. Mise-en-scene means everything you see on screen and everything that is on the screen was there for a purpose. I understood that everything that was put on screen was there to make the viewer feel a certain way, it created a mood for the viewer. Mise-en-Scene also includes the props, lighting, costumes, design, and even make up, that play a huge role in a movies meaning as well as the audiences mood and reaction towards the film.  The project on "Photography Mini Project", really helped me understand the elements of Mise-en-Scene a little bit more.  This is the photo that I took, Using the elements of Mise-en-Scene: This project was very fun to do. I really enjoyed it. I was able to play around with the lighting of the photo, adjusting the temperature, and exposure. I was also able, to kind of capture like an illusion, that my subject was jumping into t...